April 18, 2017

How to Create a Click-through Guide for Your App

A click-through guide for a mobile app has the role to reveal the key functionality of that app to users and show them how to use it.

Some will argue that people should be able to figure out how an app works intuitively, just by looking at it, but click-through guides are becoming an increasingly popular marketing strategy as apps become more complex. In the same time, even in the case of relatively simple apps, users can benefit immensely from the ability to experience a straightforward interactive guide of an app right their browser, without the need to install it on their mobile device.

Mobile app developers are well aware of the importance of a landing page for app marketing. Including a click-through guide in your app web site or landing page is really easy and your users are going to be grateful.

This article explains how to create an interactive click-through guide like the one for the Evernote app embedded in this page.


1 Define the scenario you want to show

You can either show an overview of a few key features of your app or go for a specific use case showing users how to perform one particular task using the app.


2 Take screenshots

A click-through guide which shows people how to use your app needs to be as realistic as possible. So we'll use screenshots taken directly from apps running on mobile devices. As an alternative, you can also use app images generated from your design tool.

On iPhone and iPad, when you are on a screen that you want to capture, press and hold the Home button and then press the Power/Sleep button. Your screenshots will then appear in the Photo Gallery app. To find out how to take screenshots on other devices check this article.


3 Sign up to www.AppDemoStore.com

You can try our service at AppDemoStore for free - so go on an create an account.

You can sign in from your desktop or mobile device. Once signed in, you will be directed to "My Demos" page.


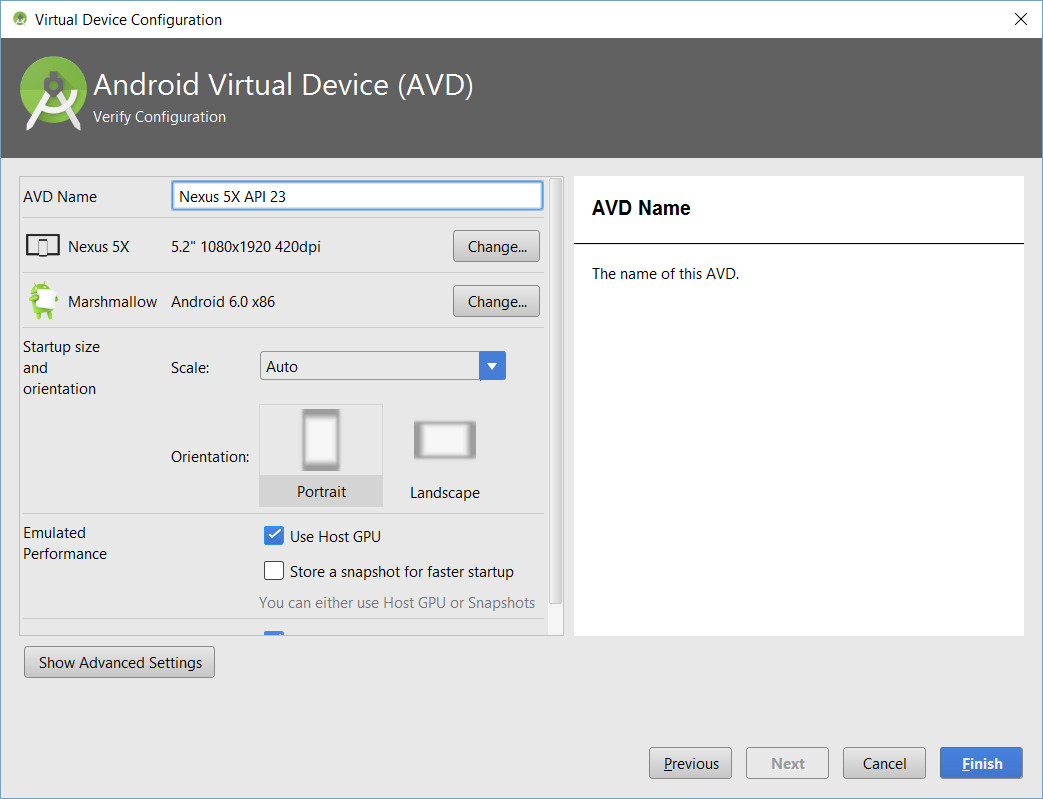
4 Create a new demo and upload your screenshots

On My Demos page, click the Create Demo button. Select a device frame from the gallery (you can choose from a variety of iPhone, iPad and Android phones and tablets). The frame will be visible when the demo is viewed on a computer and will be hidden when viewed on a mobile device. The frame can be changed later.

Upload your screenshots to by clicking the Upload Screenshots button and selecting the image files from your disk.

Scrollable Screens: To create scrollable screens, just upload a long image and then set its property "Image Layout" to "scroll". More details here.


5 Add interaction, animations and annotations.
Now it's time to bring the still images to life and make your guide clickable and interactive.
  • Use the Hotspot control to add interaction between your screenshots. You can choose the transition effect between screens (slide up/down, fade). More details here.
  • Use the Textbox, Callout and Link controls to add annotations, explanations, auto-typing and links.
  • Use the Timer control to simulate loading effects or show a screen for a limited time (e.g. splash screen).
  • Use the Arrow control to add customizable arrows. More details here.
  • Use the iFrame control to embed webpages in your demo.
  • Use the Image control to add small images on top of the screenshots.
  • Use the Video control to embed a YouTube video or a video stored on a server. More details here.
  • Use the Sound control to upload audio files or provide a text to be spoken with our Text-to-Speech functionality. More details here.
  • Use the User Input control to let users type information into a field that is carried over to the next screens. More details here.
The guide you've just created is HTML-based, so it runs in any modern desktop or mobile browser.

Common use cases for using your click-through guide
  • Share the link to your guide via Email or social networks.
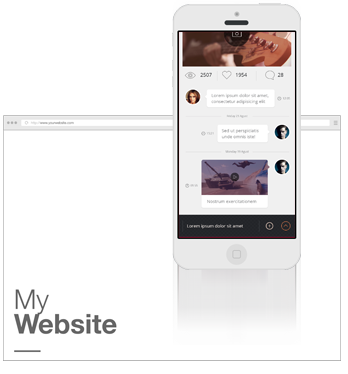
  • Embed the guide into your website or app landing page.
  • Embed the guide into your Facebook Page. Learn how to do this here.
  • Embed the guide in your app. Learn how to do this here.
  • Download your guide as an HTML, ZIP or APK or PDF.
  • Capture leads and feedback with your guide.
  • Get in-depth analytics such as where did user click, interaction flow, exit screens, etc. More details here.
  • Use it as a starting point for generating an video guide for your app. More details here.

May 10, 2016

HOW TO: Create a Demo or Tutorial of your Apple TV App

Spread the word

Starting this week, you can create demos of your OS TV app on AppDemoStore platform. Demos are a great way to promote your app or show how it works - especially for apps that are not free. It is a fact that people are more willing to buy a product if they have the change to "try before you buy" it.

This guide shows you how to create an online interactive demo of your app - like the one on right-hand side - in just a couple of minutes, for free. Your demo will be interactive, guided, online, easy to embed in your website or blog, and will run in the browser or on mobile devices.

1Make up your mind about the scenario you want to demo

One of the best selling scenario is showing your potential users how your app solves one of their problems.

2Take screenshots of this scenario, screen by screen

To take screenshots of the Apple TV App, follow these steps:

  • Install Xcode from the Mac App Store
  • Connect your Apple TV to your Mac with a USB-C to USB cable
  • Open Xcode and go to the Window menu
  • Open the Devices window
  • Select your Apple TV
  • Click on the Take Screenshot button
3Sign up to www.AppDemoStore.com

You can sign in from your desktop or mobile device, with your Google or Facebook Account or create an AppDemoStore account. You can create one demo with the FREE account.

4Create a new demo and Upload your screenshots to it

In the section "My Demos", click the "Create Demo" button. Select the Apple TV frame for your demo (available in the Others tab) and give your demo a relevant name. The frame will be visible when the demo is viewed on a computer and not visible when viewed on a mobile device.

Upload your screenshots to your demo by clicking the button "Upload Screenshots" and selecting the files from your disk (multiple file upload is possible).

5Add interaction, animations and annotations.
  • Use the "Hotspot" control to add interaction between your screenshots. You can choose the transition effect between screens (slide up/down, fade). More details here.
  • Use the "Textbox", "Callout" and "Link" controls to add annotations, explanations, auto-typing and links.
  • Use the "Timer" control to simulate loading effects or show a screen for a limited time (e.g. splash screen).
  • Use the "Scrollable Area" control to create horizontal or vertical scrollable areas. More details here.
  • Use the "Arrow" control to add customizable arrows. More details here.
  • Use the "iFrame" control to embed webpages in your demo.
  • Use the "Image" control to add small images on top of the screenshots.
  • Use the "Video" control to embed a YouTube video in your demo.
  • Use the "Sound" control to upload audio files or provide a text to be spoken with our Text-to-Speech functionality. More details here.
  • Use the "User Input" control to let users type information into a field that is carried over to the next screens. More details here.
The demo is HTML-based, thus runs in any desktop or mobile browser. We support the free account with Google-ads, but we try to keep them at a minimum. You can remove all the ads by upgrading to PRO.


Common use cases for using your demo
  • Share the link to your demo via Email or social networks.
  • Embed demo in your website or HTML email. Get the embedding code on the demo page by clicking the button "Embed". Your prospective users will be able to click through your app demo right on your website or email.
  • Embed the demo into your Facebook Page. Learn how to do this here.
  • Embed demo in your app. Learn how to do this here.
  • Download your demo as an HTML, ZIP or PDF and use it as you wish.
  • Capture leads and feedback with your demo.
  • Get in-depth demo analytics such as where did user click, interaction flow, exit screens, etc. More details here.
  • Use it as a starting point for generating a demo video for your app. More details here.

March 7, 2016

How to install an APK demo app on your Android device

Quick intro

Once you have an APK demo app it's really easy to install it on your Android device.

This will allow you to run your demo as a native app and it will even work without an internet connection.

To learn how to create the demo app APK follow this guide: How to build a native Android app demo

How it works


1 Enable Unknown Sources in your phone's security settings

Go to:

Settings -> Security -> Unknown sources

2 Connect your phone to your computer using a USB cable

3 Enable Transfer Files

On the phone you should get a notification like USB for charging - touch for more options.
Tap on it and enable Transfer files.

4 Copy the APK file

On the computer open the File Explorer tool (like Windows Explorer on Windows and Finder on Mac), locate the phone and copy the APK file to the phone's memory (for example in the Downloads folder).

5 Use a File Manager app to open the APK file

There's no default File Manager in Android so you have to install one - our favorite is from Asus: File Manager - but any other one would do the job.

6 Install the APK file

Open the file manager app and tap on the APK file. It will request your permission and the App will be installed on your device.

That's it: you now have your app demo installed on your Android device as an APK file.


How to build an Android demo app and export it as APK file

Quick intro

This guide explains how to build a native Android app demo and export it as an APK file.

All demo resources are packaged within the app, so your demo will behave as a native Android app and it will work even without an internet connection.

In order to create an Android app you need to have Android Studio installed - check out this guide for details: How to Install Android Studio.
You also need to have your demo downloaded as a ZIP file and unzipped on your computer.


How it works


1 Download the Android app project

The first step you have to perform is to download the Android app project template from AppSemoStore.com: AppDemoStore_Android_App_v1.4.zip

This is a ready-made app project which you can import into Android Studio. It contains a simple Android app which loads a demo html page in full-screen mode.

So, download the zip file and unzip it somewhere on your computer - for example on your D: drive.
2 Launch Android Studio

Launch Android Studio and, in the Quick Start panel, select Open an Existing Android Studio project.

Locate the folder where you have downloaded the AppDemoStore app project and open it.
Select the app project folder:
Loading the project takes a while - give it some time.
Click the vertical 1:Project tab to open your project:
3 Copy your demo HTML files

In Android Studio, locate the demo index.html file in the folder: app/assets/demo/

This is just a sample file which you have to replace with your demo files - you can safely delete it.

Copy your demo files inside the app/assets/demo/ folder. Of course, you need to have your AppDemoStore demo downloaded (as a ZIP archive) and unzipped into a local folder - for info on how to do that check this FAQ.

Tip: Copy all your demo files from Windows Explorer with Ctrl+C and paste them inside the app/assets/demo/ folder in Android Studio with Ctrl+V.

The app will specifically look for the demo html file app/assets/demo/index.html - so make sure it's there before moving further.
4 Test the app with the Android Emulator

Android Studio allows you to run your app on the Android Emulator which is a software that simulates an actual Android device on your computer.

Click the green "play" icon in Android Studio to run your app.

At the beginning you'll have to create an Android Virtual Device like in the images below.
Select Nexus 5X:
Select Android 6.0 with Google API:
Use default setting:
Your Virtual Device is created:
5 Run your app on the newly created Android Virtual Device

Select the Android Virtual Device you created to run your app on it.
6 Run your demo

Make sure everything runs as expected.

The image shows the default html page that comes with the AppDemoStore Android template. But you should have replaced that with your own demo, so you should be able to test it on your computer, before installing it on the device.
7 Generate the signed APK file

To be able to distribute your app as an APK file, you have to sign it first.

Follow this quick guide from Google: Signing Your Applications - you can jump straight to section Signing Your App in Android Studio.

If you copied the app template to your D: drive you'll find the signed APK file in the following folder:

D:\AppDemoStore_Andriod_App_v1.2\app

You can copy the app-release.apk file and rename it - you can give it the name of your demo for example.

Install APK file on Android device

So, you've got your demo as an APK file which you can install on Android devices as a native app. This article explains how to do that: How to install an APK demo file on your Android device.


Helpful Articles


How to Install Android Studio

Quick intro

This guide explains how to install Android Studio on your computer.

As a prerequisite, you also have to install Java 7.


How it works


1 Download Java 7 and install it

You can download the Java 7 SDK from the official Oracle Java download page: Download Java.

Accept the License Agreement and chose the right version for your computer: e.g. Windows x64 for a 64 bit Windows machine.

The installation is pretty straight forward - you can simply accept all default settings and press Next a few times.
2 Download Android Studio and install it

You can download Android Studio from the official Android developer site: Download Android Studio.

Again, accept the License Agreement and hit the Download button.

The installation of Android Studio is also straight forward - you can accept all default settings as well. It should automatically find the installed Java on your computer.

The download and installation can take quite some time, but at the end of this both the Android Studio and the Android SDK will be installed and ready for action.

Your setup is now complete!

Next, learn how to create an Android app of your demo and install it on your device as a native app: How to build a native Android demo app


Helpful Articles