Quick intro
This guide explains how to build a native Android app demo and export it as an APK file.
All demo resources are packaged within the app, so your demo will behave as a native Android app and it will work even without an internet connection.
In order to create an Android app you need to have Android Studio installed - check out this guide for details: How to Install Android Studio.
You also need to have your demo downloaded as a ZIP file and unzipped on your computer.
How it works
1 Download the Android app project
The first step you have to perform is to download the Android app project template from AppSemoStore.com: AppDemoStore_Android_App_v1.4.zip
This is a ready-made app project which you can import into Android Studio. It contains a simple Android app which loads a demo html page in full-screen mode.
So, download the zip file and unzip it somewhere on your computer - for example on your D: drive.

2 Launch Android Studio
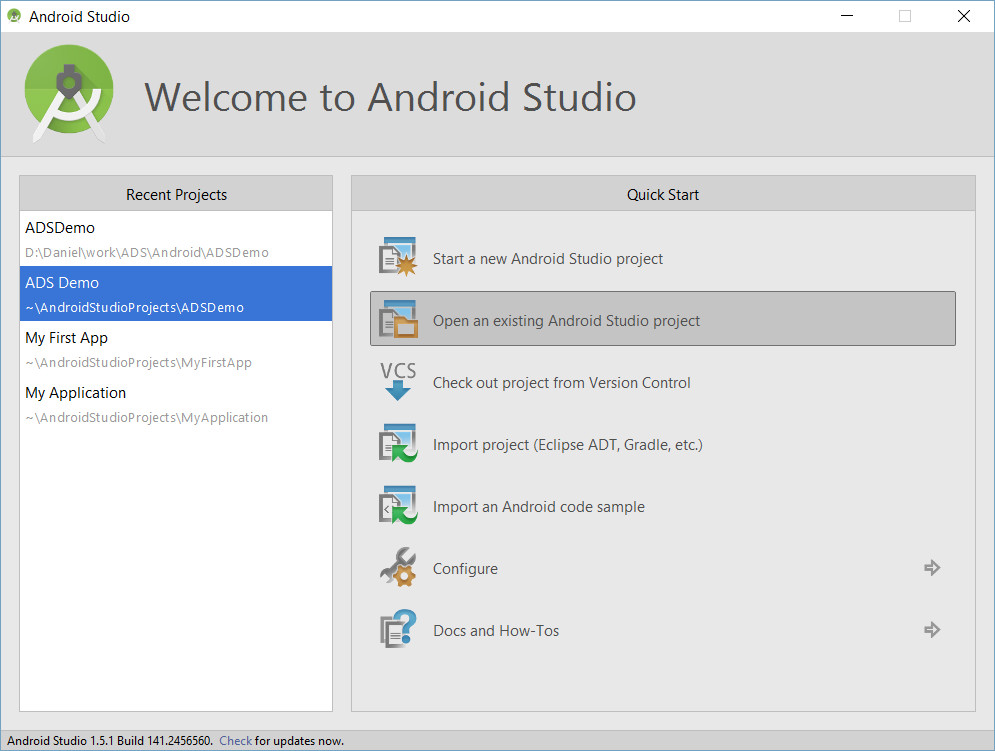
Launch Android Studio and, in the Quick Start panel, select Open an Existing Android Studio project.
Locate the folder where you have downloaded the AppDemoStore app project and open it.
Launch Android Studio and, in the Quick Start panel, select Open an Existing Android Studio project.
Locate the folder where you have downloaded the AppDemoStore app project and open it.
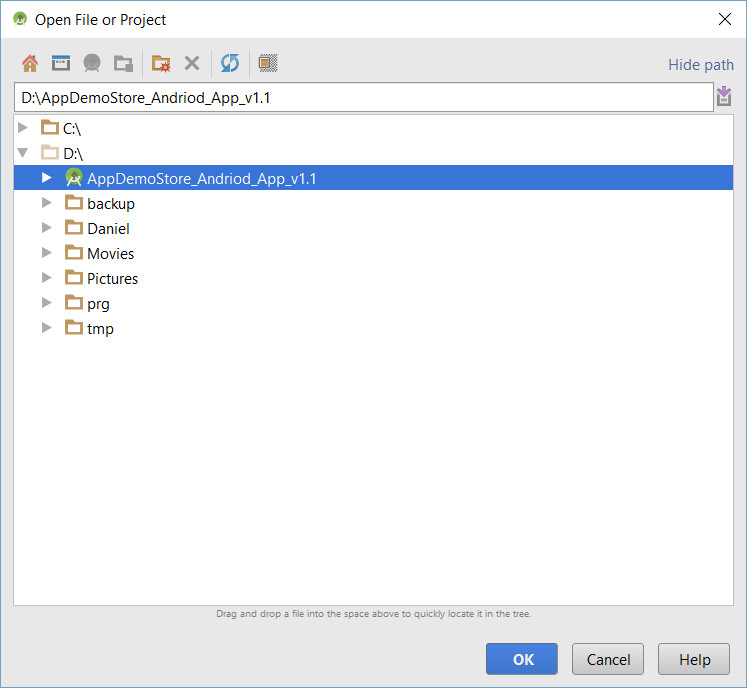
Select the app project folder:
Loading the project takes a while - give it some time.
Loading the project takes a while - give it some time.
Click the vertical 1:Project tab to open your project:

3 Copy your demo HTML files
In Android Studio, locate the demo index.html file in the folder: app/assets/demo/
This is just a sample file which you have to replace with your demo files - you can safely delete it.
Copy your demo files inside the app/assets/demo/ folder. Of course, you need to have your AppDemoStore demo downloaded (as a ZIP archive) and unzipped into a local folder - for info on how to do that check this FAQ.
Tip: Copy all your demo files from Windows Explorer with Ctrl+C and paste them inside the app/assets/demo/ folder in Android Studio with Ctrl+V.
The app will specifically look for the demo html file app/assets/demo/index.html - so make sure it's there before moving further.


4 Test the app with the Android Emulator
Android Studio allows you to run your app on the Android Emulator which is a software that simulates an actual Android device on your computer.
Click the green "play" icon in Android Studio to run your app.
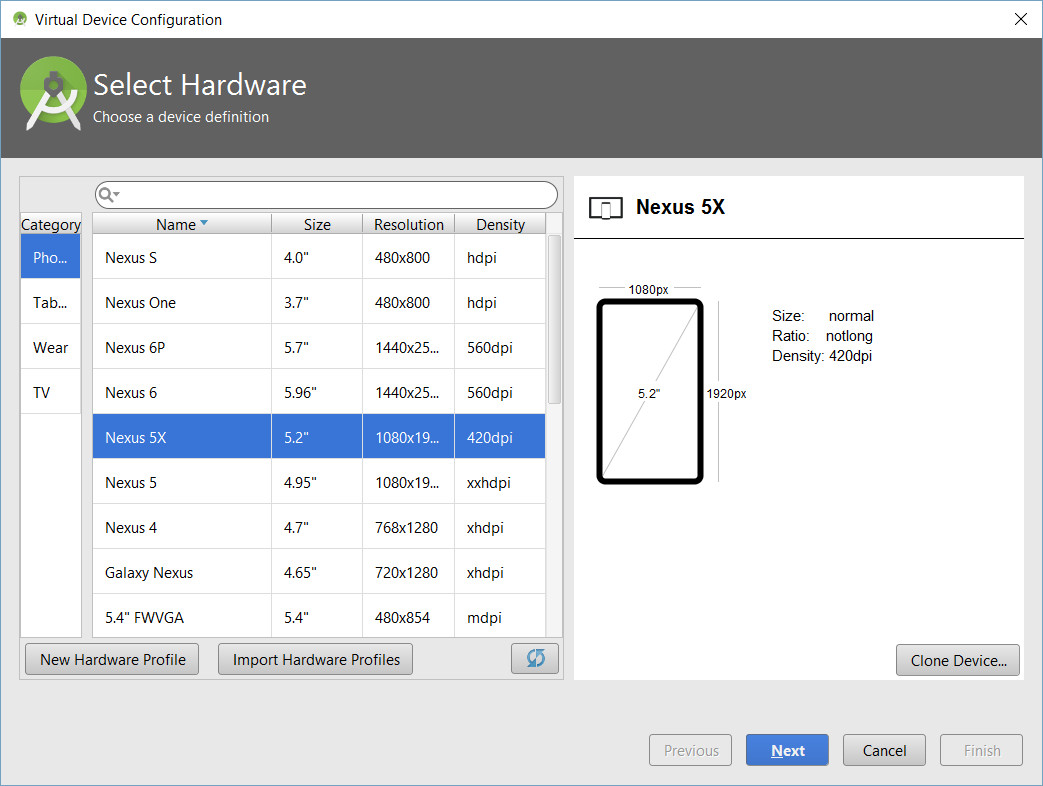
At the beginning you'll have to create an Android Virtual Device like in the images below.
Android Studio allows you to run your app on the Android Emulator which is a software that simulates an actual Android device on your computer.
Click the green "play" icon in Android Studio to run your app.
At the beginning you'll have to create an Android Virtual Device like in the images below.
Select Nexus 5X:
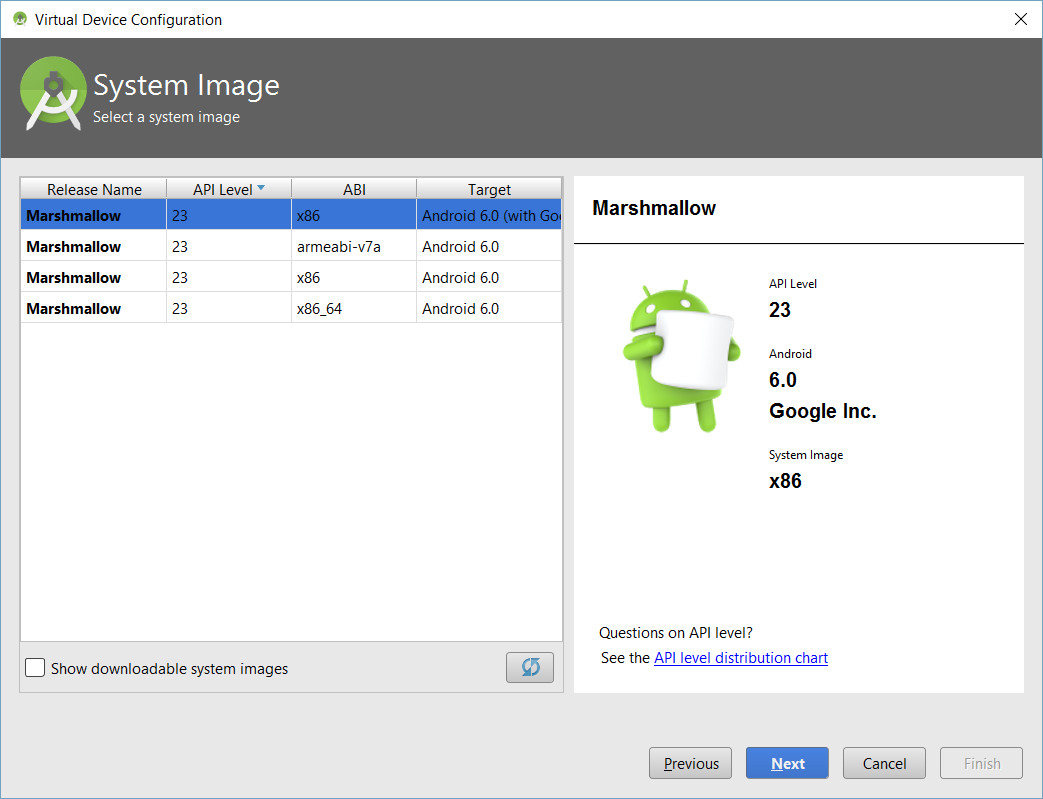
Select Android 6.0 with Google API:
Use default setting:
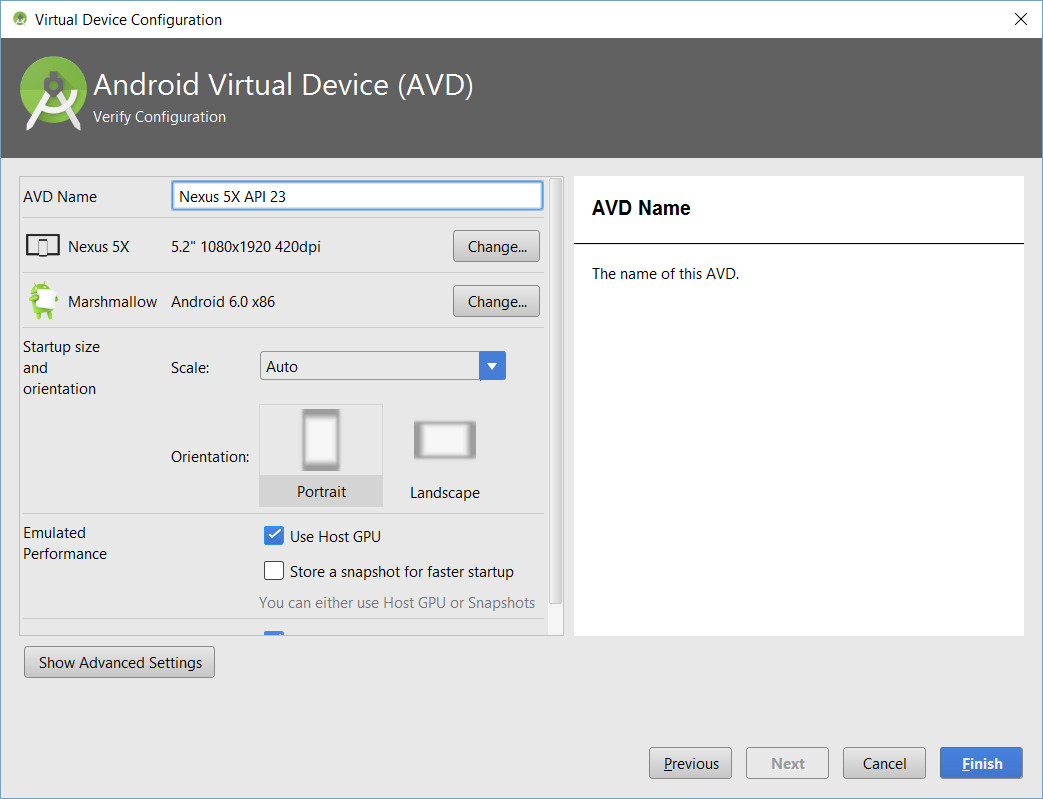
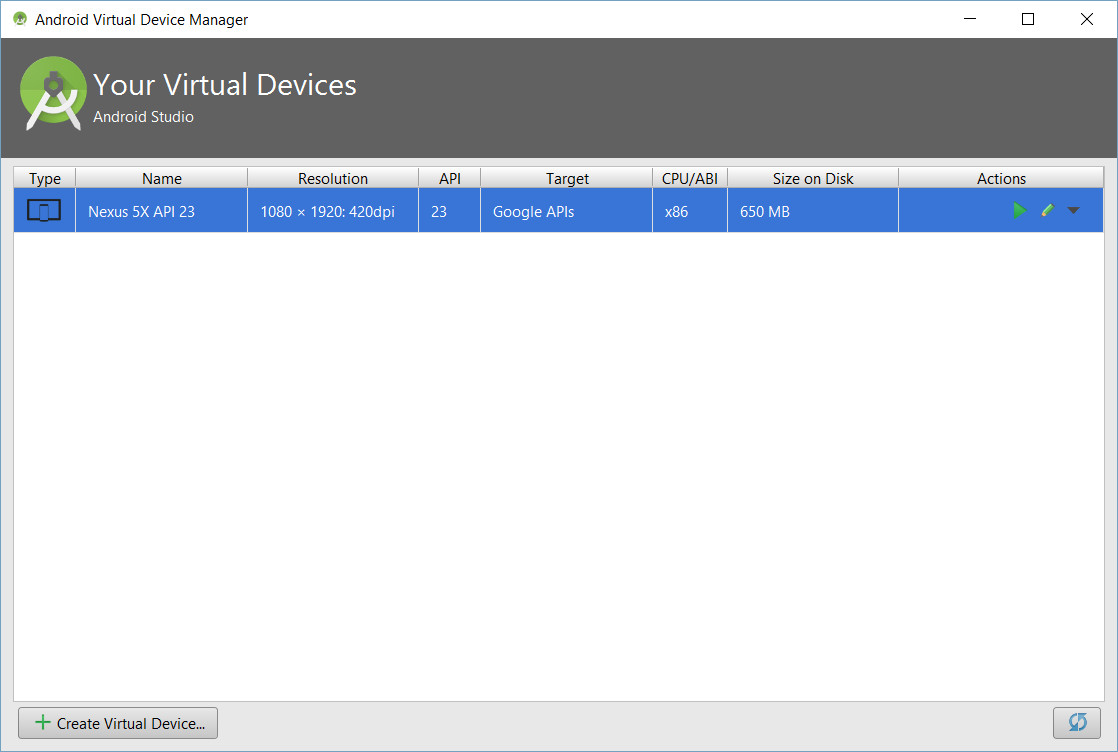
Your Virtual Device is created:
5 Run your app on the newly created Android Virtual Device
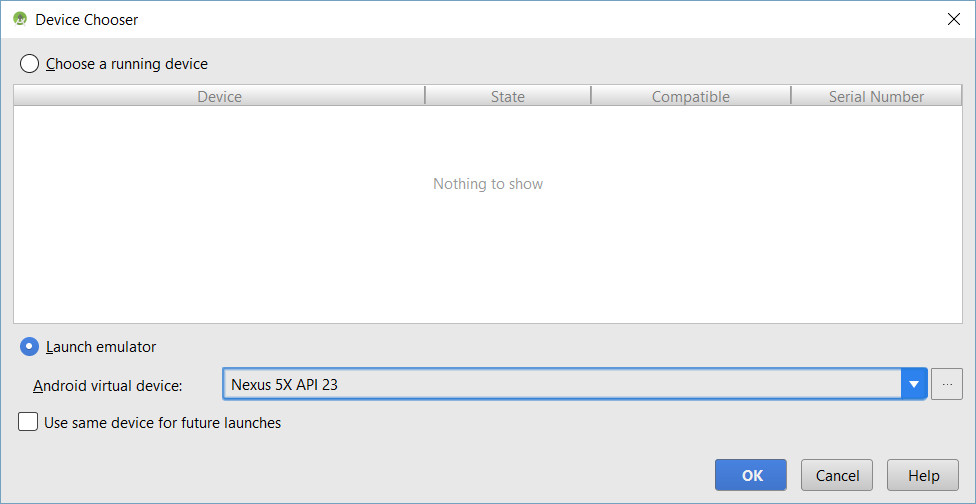
Select the Android Virtual Device you created to run your app on it.
Select the Android Virtual Device you created to run your app on it.

6 Run your demo
Make sure everything runs as expected.
The image shows the default html page that comes with the AppDemoStore Android template. But you should have replaced that with your own demo, so you should be able to test it on your computer, before installing it on the device.
Make sure everything runs as expected.
The image shows the default html page that comes with the AppDemoStore Android template. But you should have replaced that with your own demo, so you should be able to test it on your computer, before installing it on the device.
7 Generate the signed APK file
To be able to distribute your app as an APK file, you have to sign it first.
Follow this quick guide from Google: Signing Your Applications - you can jump straight to section Signing Your App in Android Studio.
If you copied the app template to your D: drive you'll find the signed APK file in the following folder:
D:\AppDemoStore_Andriod_App_v1.2\app
You can copy the app-release.apk file and rename it - you can give it the name of your demo for example.

Install APK file on Android device
So, you've got your demo as an APK file which you can install on Android devices as a native app. This article explains how to do that: How to install an APK demo file on your Android device.