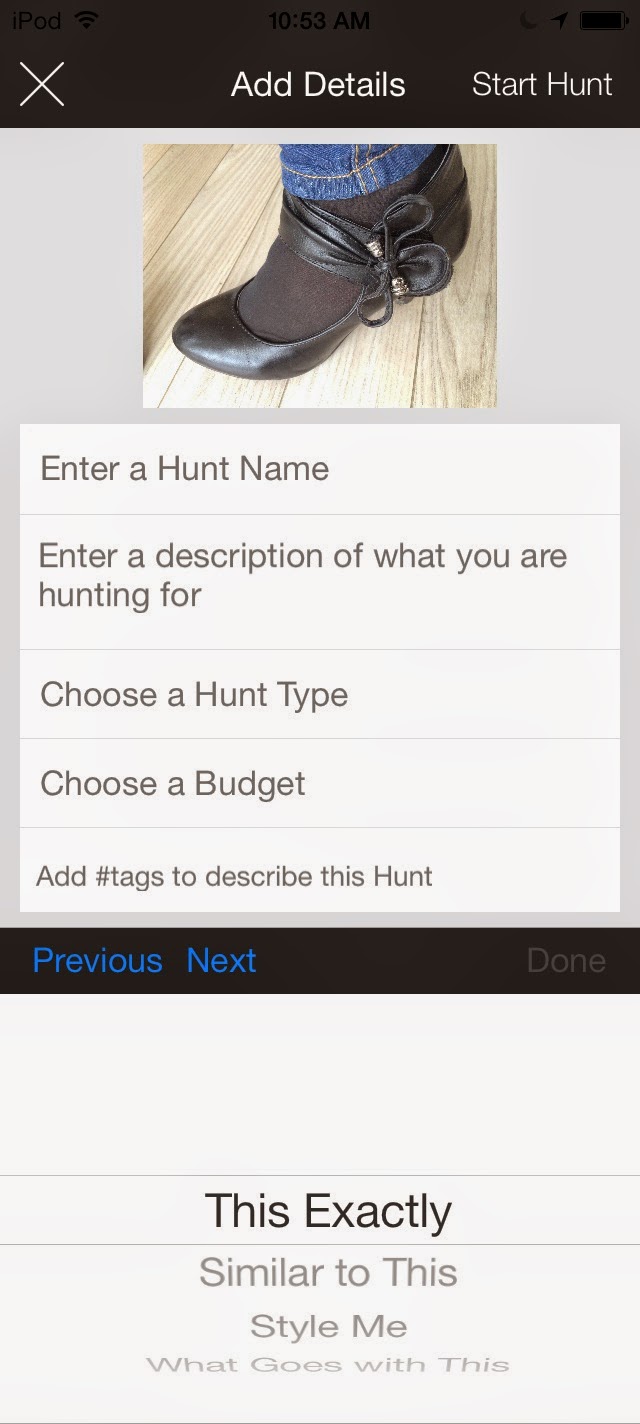
In this tutorial we will present you a simple way of vertically-merging two images in Adobe Photoshop (identical mobile phone screenshots). We use the Photoshop CS6 for this demonstration, but you can use any other version; however, there might be small differences between them. So, if you're ready, let's jump right into it.
This is very useful when you want to create a long image in order to show a scroll in a demo - like the one in the right.
1 Step 1
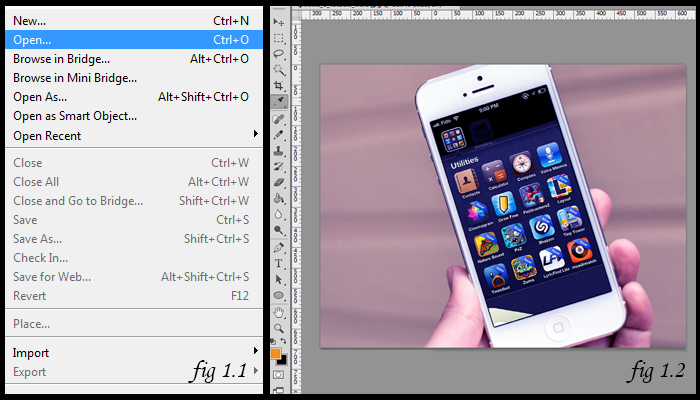
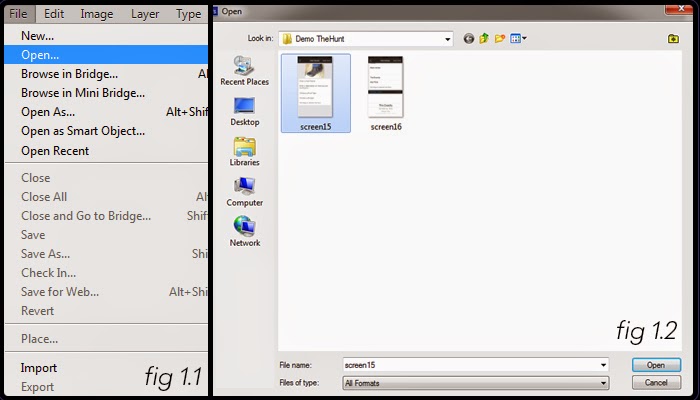
Open your Adobe Photoshop if you haven't already. In the top left side, click on the 'File' menu. From the dropdown, select 'Open'. Locate the image that you want to place on top (the one that doesn't require any cropping), and click 'Ok'.
2 Step 2
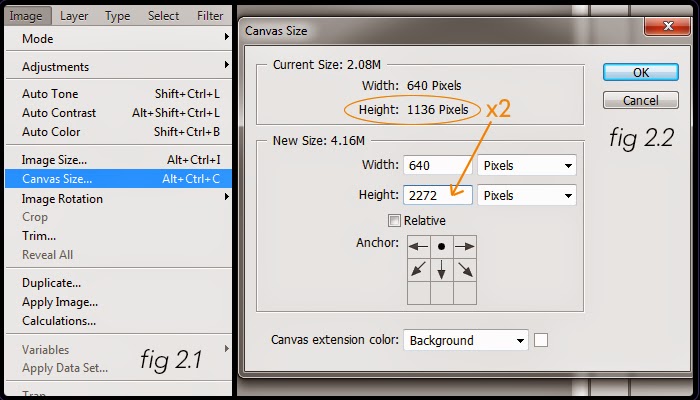
Go to 'Image' in top section. Find and click on 'Canvas Size...'. A new window will pop up. The current size of your image is displayed. What you need to do is multiply the height by 2 (if your second image has the same size like the first one) and type the number in the 'Height:' row, in the 'New Size' section. In the Anchor matrix make sure to click the second square - like in the fig 2.2. After you click 'Ok' you will see that your working area has been extended downwards.
3 Step 3
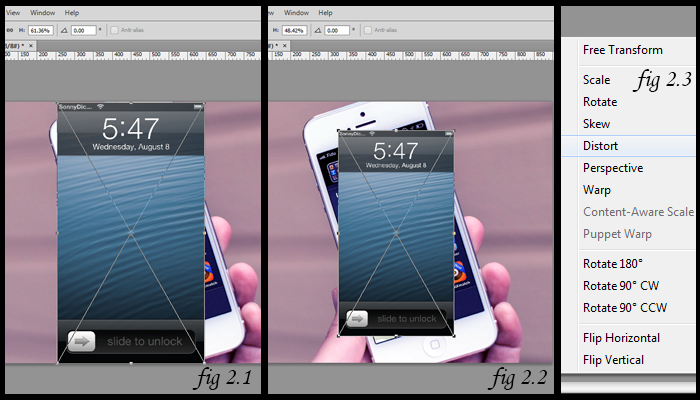
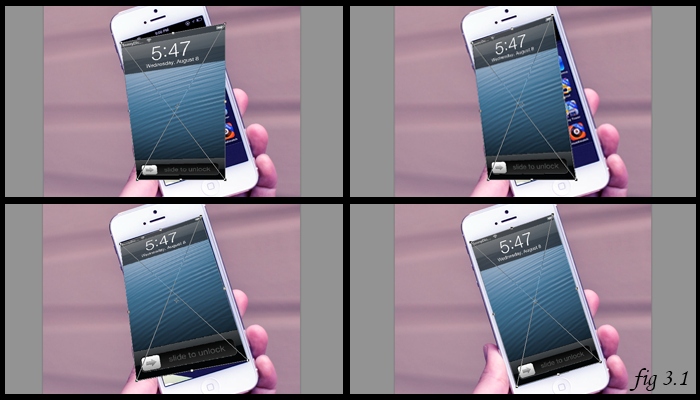
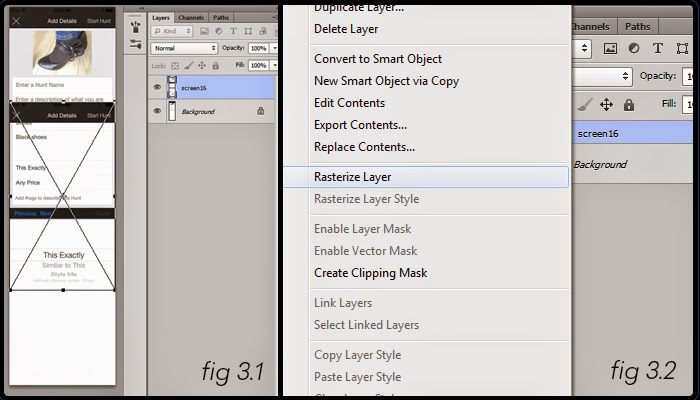
Locate the second screenshot on your computer (use Finder, My Computer etc.). Drag it and drop it in Photoshop, over the first one, and hit Enter. You should see a new layer appearing in the right side of the screen, like in fig 3.1. Right click on the new layer and select 'Rasterize Layer'.
4 Step 4
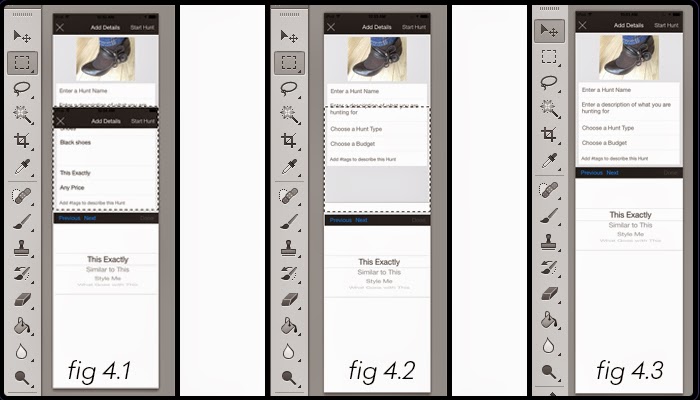
Make sure the new layer is selected. If it isn't, click on it. Locate and click the 'Selection Tool' ( ) from the Toolbar. Drag a rectangle around the area you want to delete, like in fig 4.1. If you want to select again, hit CTRL + D or CMD + D. Once you defined the area that needs to be deleted, hit Delete. Now hit CTRL / CMD + D again in order to deselect everything. Use the Move Tool (
 ) to position what's left of the image. Do this by clicking and dragging around, or by using the arrow keys.
5 Step 5
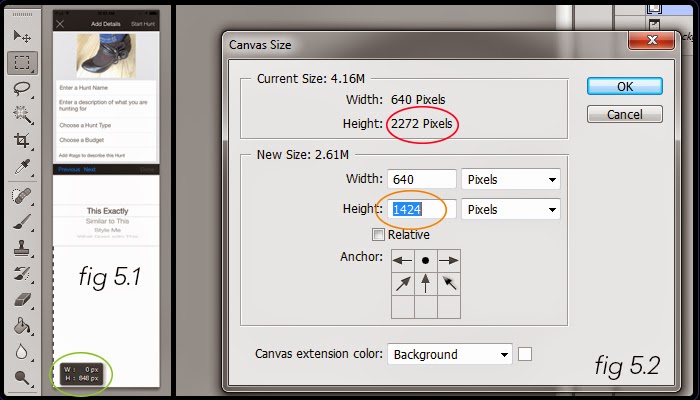
Now we're going to remove the white space from the bottom of the image. Click on the Selection Tool () again. Position the cursor right where your image ends and pull downwards, like in fig 5.1. Make sure to write on a piece of paper the value from H:. Now, go to 'Image' -> 'Canvas Size' again. Subtract the number you wrote down from the Height in Current Size section and type it in New Size section. Make sure to click on the second square in the Anchor Matrix, as shown in fig 5.2.
6 Step 6
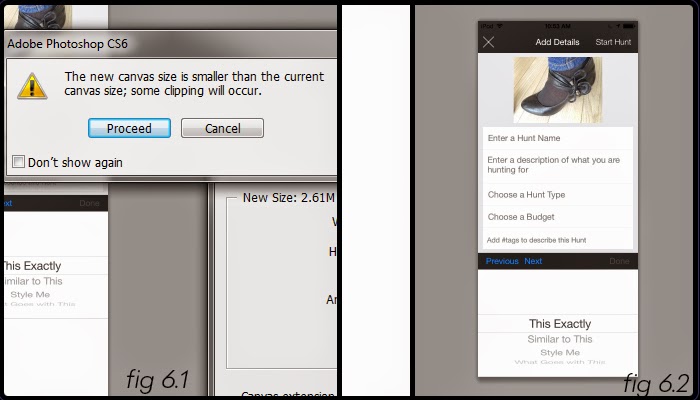
You will be warned that some clipping will occur. Click on 'Ok'. At this point you shouldn't have any whitespace around your image. The finished product is ready for saving.
7 Step 7
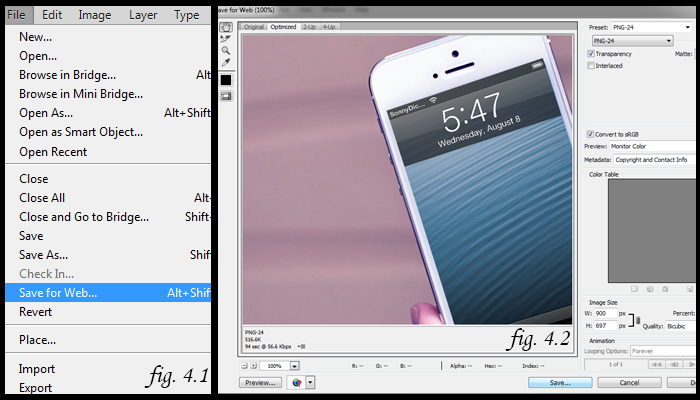
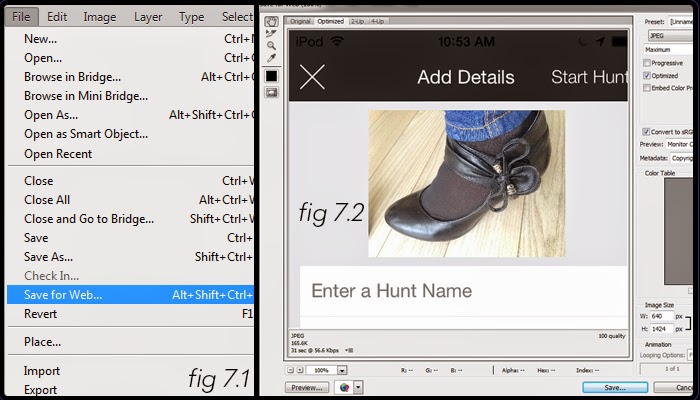
Go to 'File' and click on 'Save for Web...'. From here you can save it as a JPEG, PNG or GIF and adjust the quality by changing the options located in the right side of the screen. Once you're done, click on 'Save' in the bottom right and choose your location.
Final Result
Now you got yourself a perfect image to place in a scrollable area on our website or in any other application.